This article will explain how to add artworks to and edit the content of a Virtual Reality Exhibition that you already created.
If you want to edit Virtual Reality Exhibition that you have already created previously, first go to your gallery profile and scroll down to the "Exhibitions" section.
For more information about how to create a Virtual Reality Exhibition, read this article.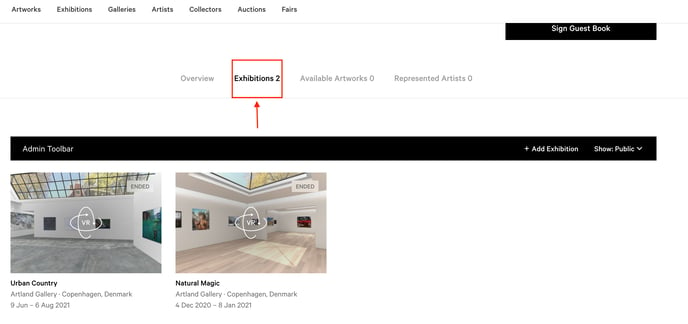 Open the exhibition you want to edit and use the arrows pad on your keyboard to move around the space.
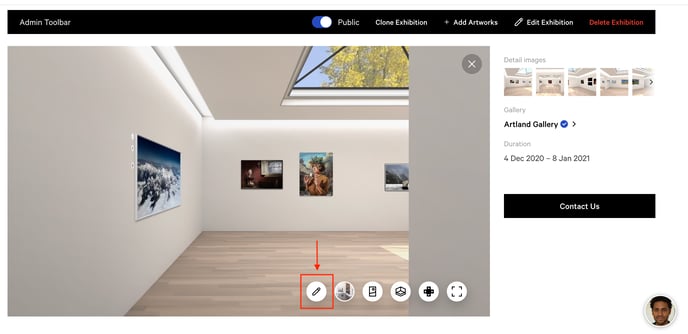
You can edit your gallery information displayed in the exhibition and hang artworks from within the exhibition itself, by clicking the pencil icon at the bottom right of your screen.
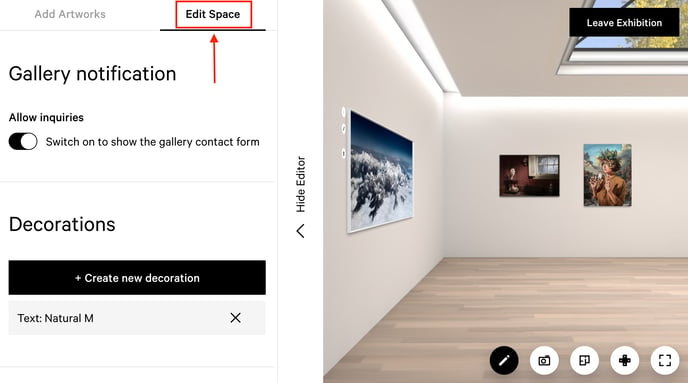
Click on "Edit Space" to add more information about the exhibition and to customize your space.
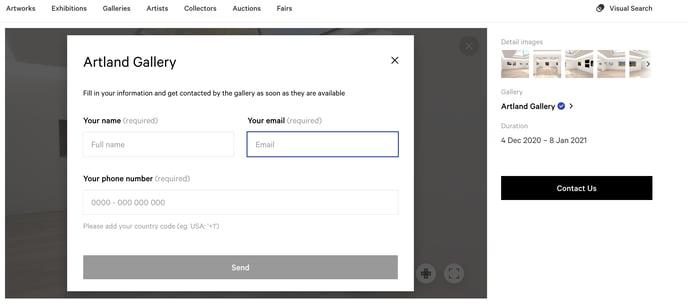
You can activate the "Allow inquiries" option, turning on the toggle in the image below.
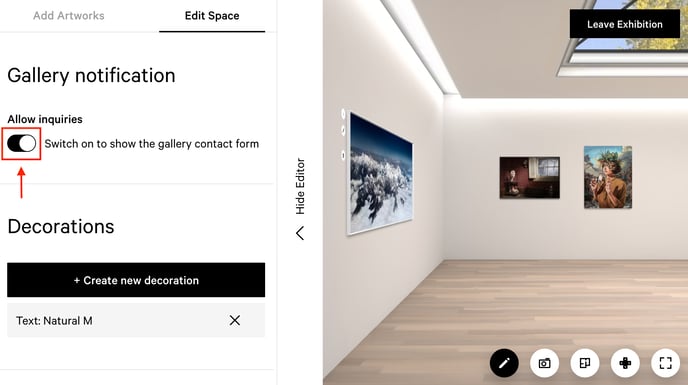
With this option you will allow collectors to contact you by entering their details.
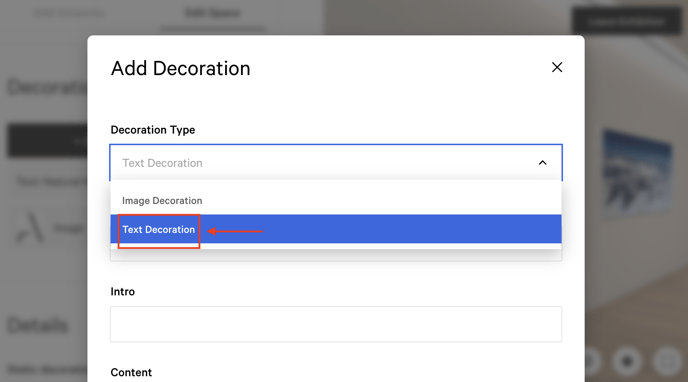
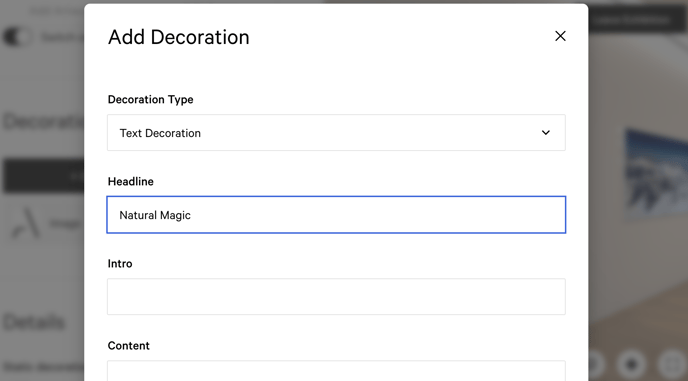
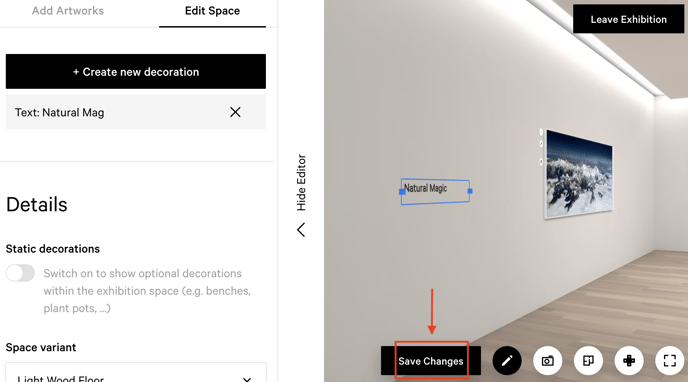
Moreover, you can insert the title of the exhibition and its description on the wall by clicking on the button "+ Create new decoration" and then on "Text Decoration".

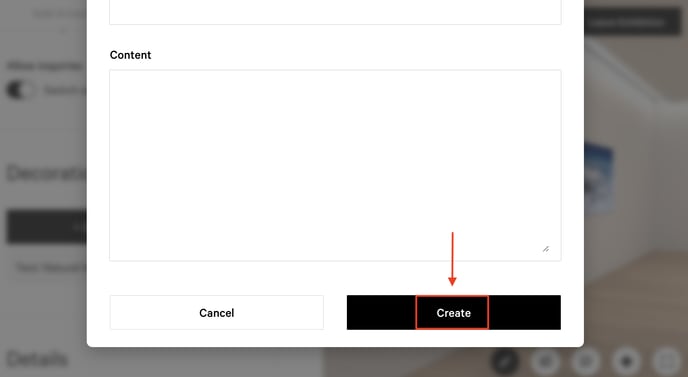
Once you have added the texts you wish to insert, click on "Create" and "Save changes".
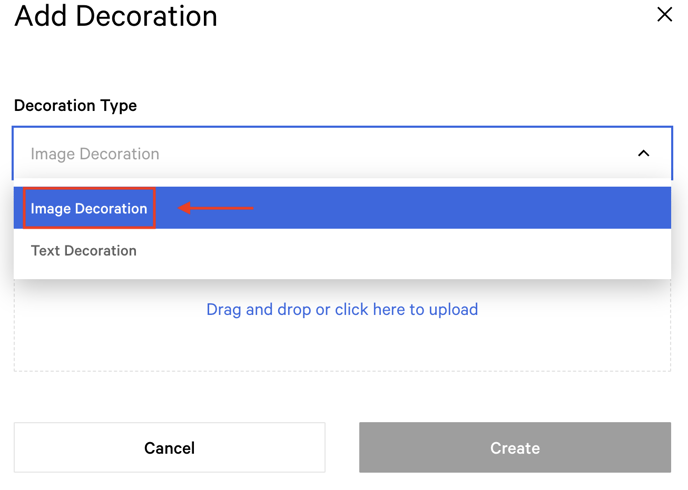
Through a very similar procedure, you can also decide to insert other types of decorations on the wall, such as a logo for example.
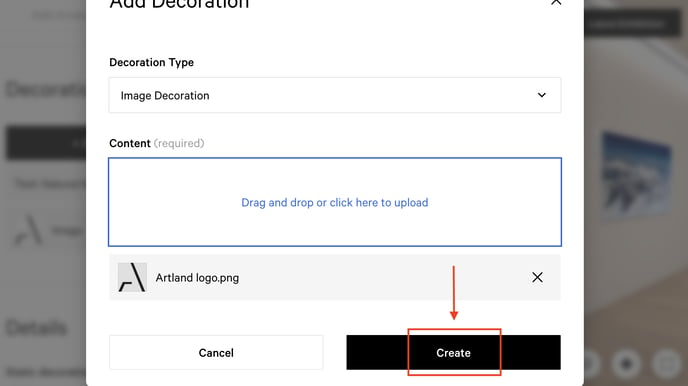
To do this, click on the button "+ Create new decoration" and then on "Image Decoration".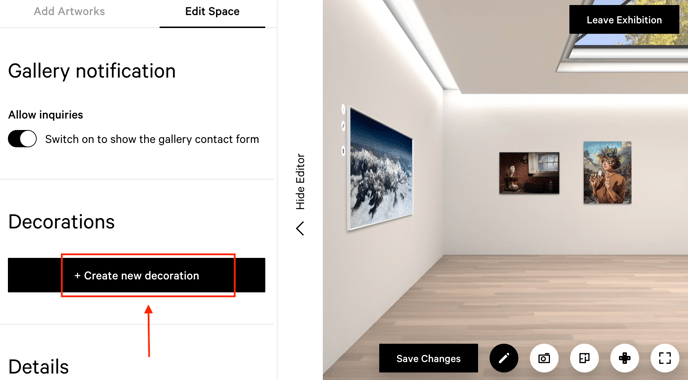
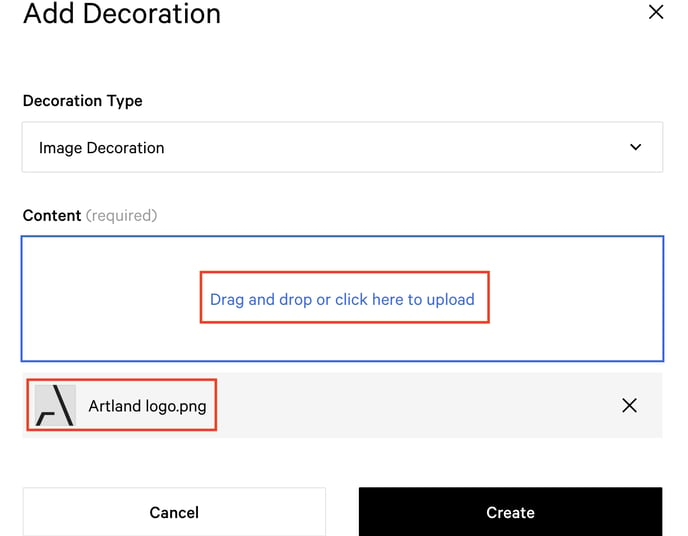
Upload the image (in this case the logo) you want to hang on the wall in the space provided and click on "Create".

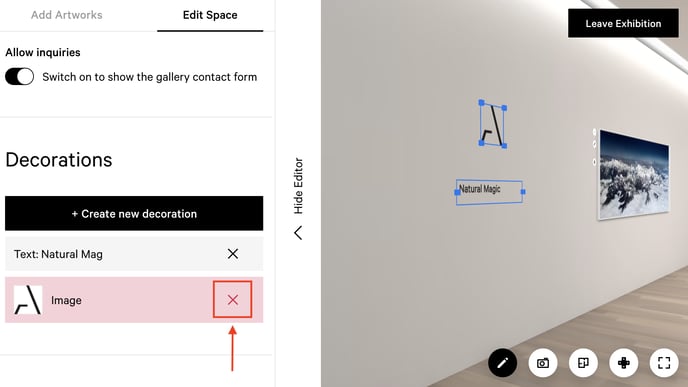
You can easily delete the inserted decorations by clicking on the "X".
Scrolling down, you can also choose among four floor patterns and decide if showing a bench.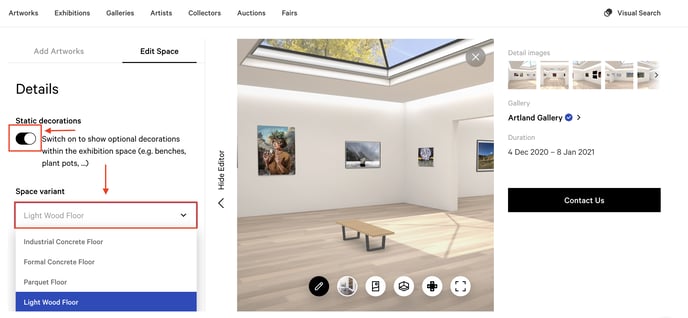
Remember to save the changes you have made.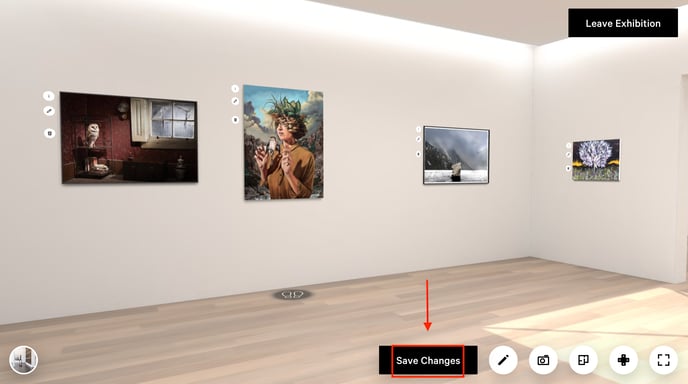
Whereas, if you want to add an artwork to the wall, click go to the "Add Artworks" option.
At the top of this panel, you'll find the "Exhibition Capacity" toolbar, that indicates the recommended maximum of artworks to be hung before reaching the performance limit on average devices.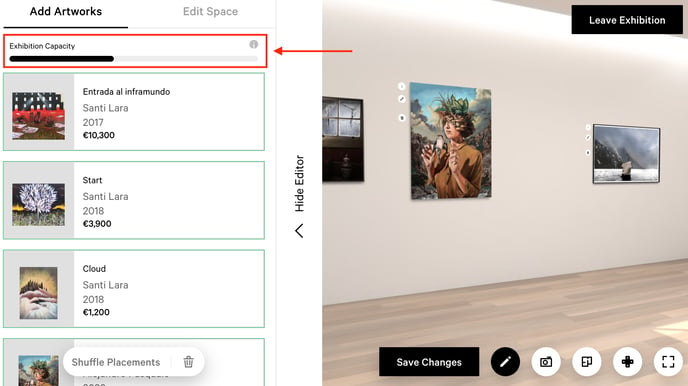
Drag the artwork you want to hang on the wall among those that you added when creating the exhibition.
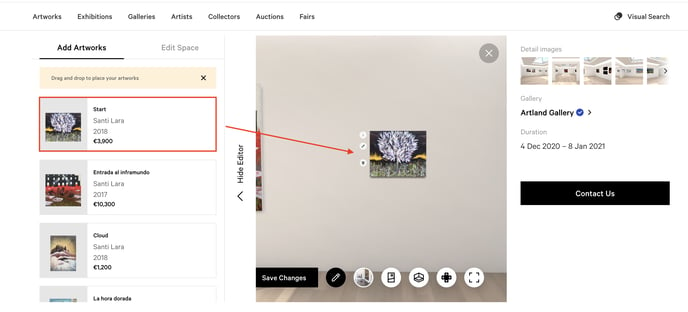
Measurements and guidelines will help you in the process.
Please note that to do this, you must have already uploaded the works during the creation of your exhibition. To know how to create new exhibitions, read this article. While to know how to add works, read this article.
Remember that, in order to be shown, the artwork must contains information about its width and height. The works whose measurements you have not entered will be outlined in red.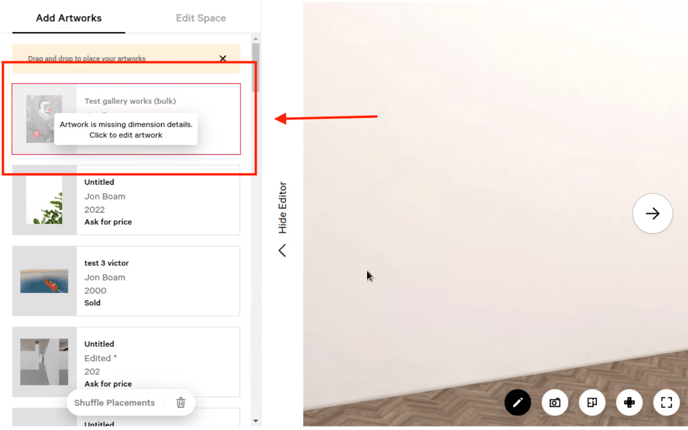
In this case, however, you can add the missing measures by clicking on the work.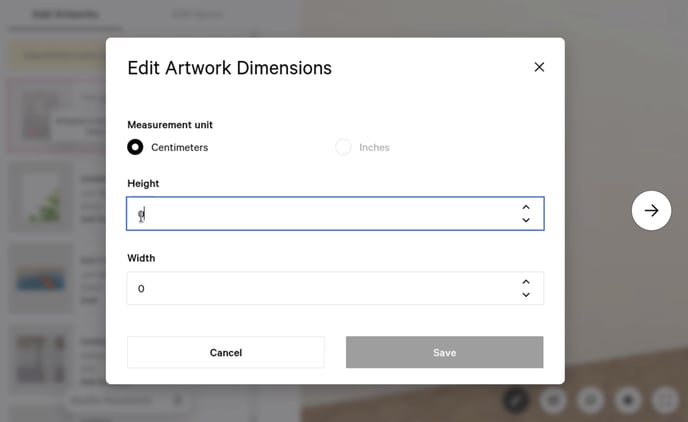
On the other hand, the works you have already hung will be outlined in green.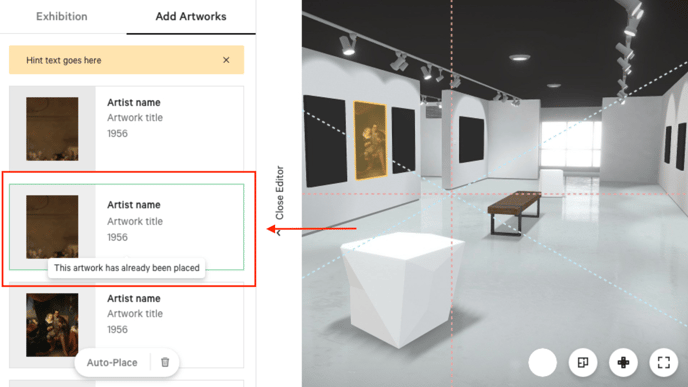
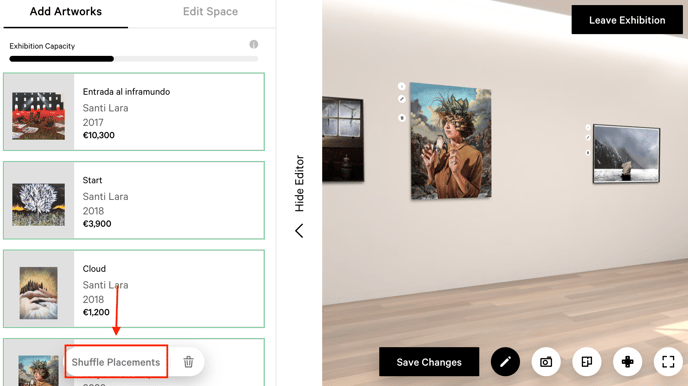
Sometimes, setting up an exhibition takes a long time, in these cases you can decide to activate the "Shuffle Placements" option, thus letting our system decide the positioning of the works on the wall.
To add more details to the work you have decided to hang, click on the pencil icon next to it.
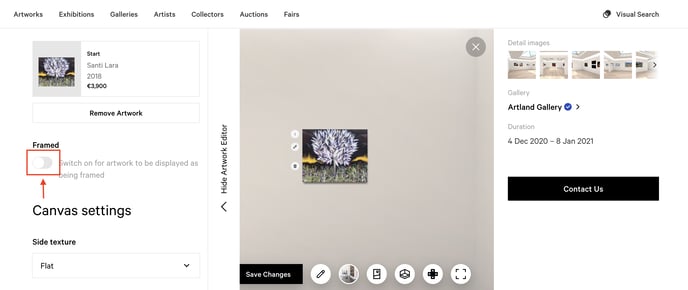
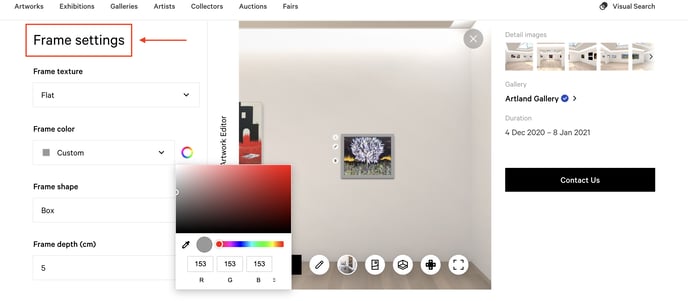
If you want the work to be displayed with the frame, activate the "Framed" toggle and choose the details of the frame.
You can choose the color, the texture, the shape, the size and if insert a space between the artwork and the frame. Moreover, you can place the frame in the front or the back of the artwork.
Whereas, if you choose to install your artwork without frame, you can edit only the "Canvas settings". You can choose the texture, the color and how deep the side should be, consistently with the real artwork's characteristics.
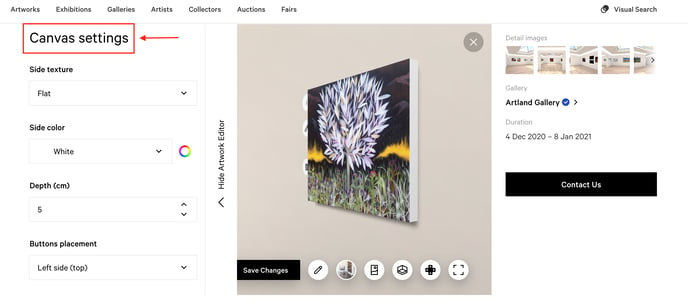
Lastly, you can also choose where to position the button that displays information about the artwork.

After entering all the details you want, remember to save the changes.
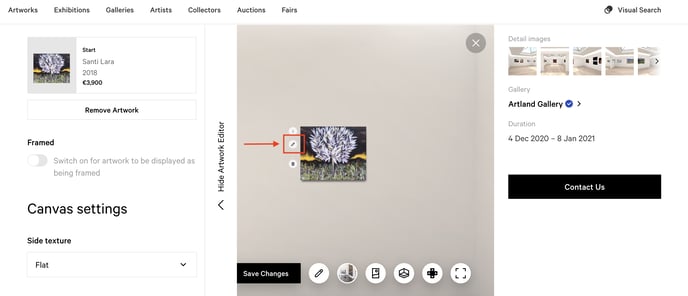
You can always edit position, canvas and framing characteristics by clicking on the pencil icon placed close to the info button icon.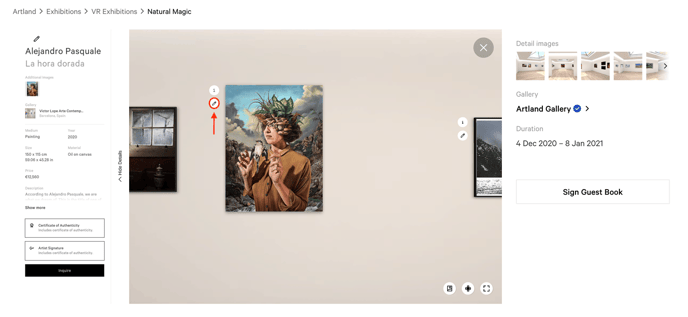
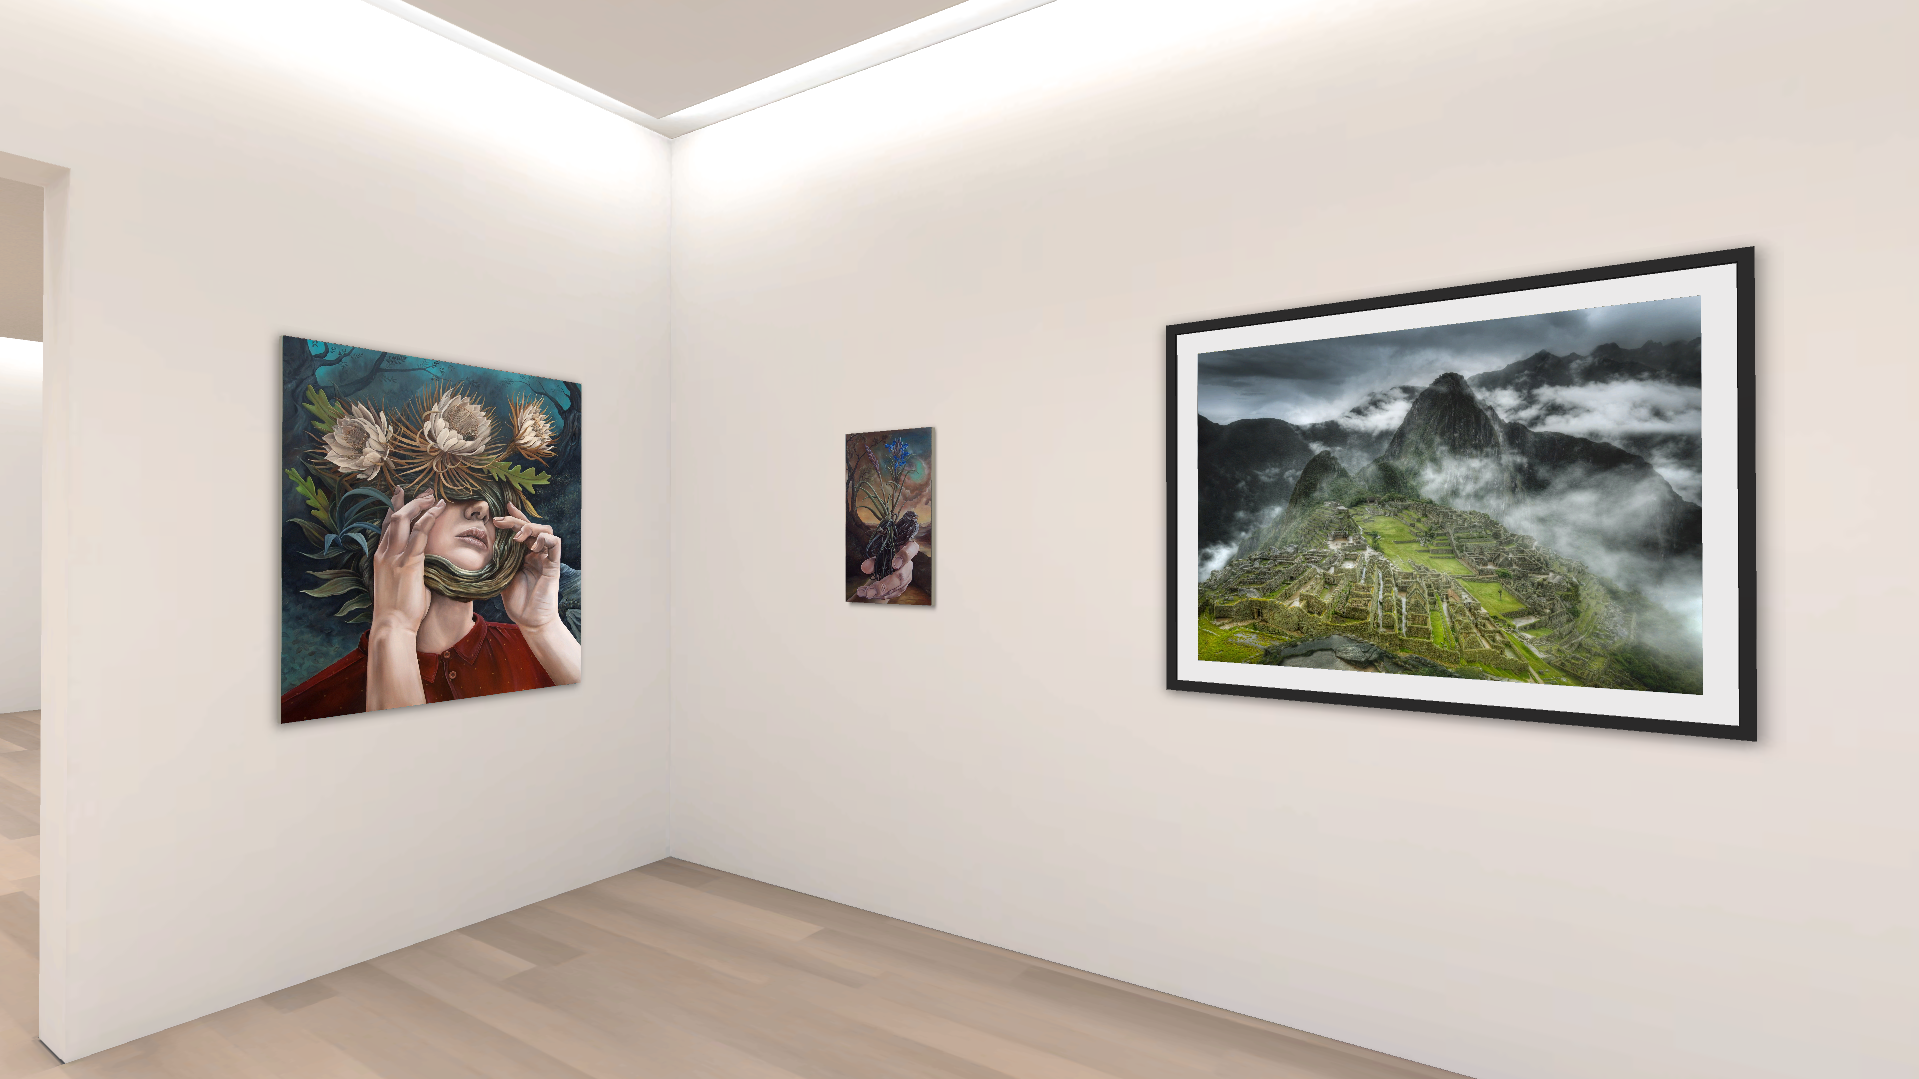
TIP: You can take a screenshot of your VR Exhibition to promote it on your website, newsletter and social media. For the best result, press "O" on your keyboard before taking the screenshot : the CTA buttons will disappear.
Before:

After:
For more tips on how to improve your digital marketing strategy, read this article.
Whereas, to find out what are the essential requirements for uploading the works on a VR Exhibition, read this.