This guide will walk you through the basics of creating a Virtual Reality Exhibition on your profile.
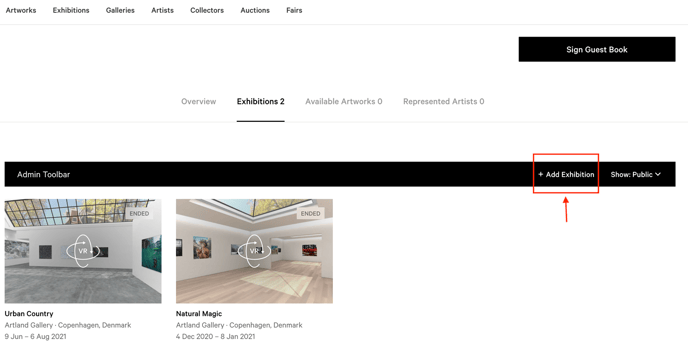
To create a VR Exhibition, first you need to go to your collection profile. Then scroll to the "Exhibitions" tab and click on the button "+Add Exhibition" of the Admin Toolbar.
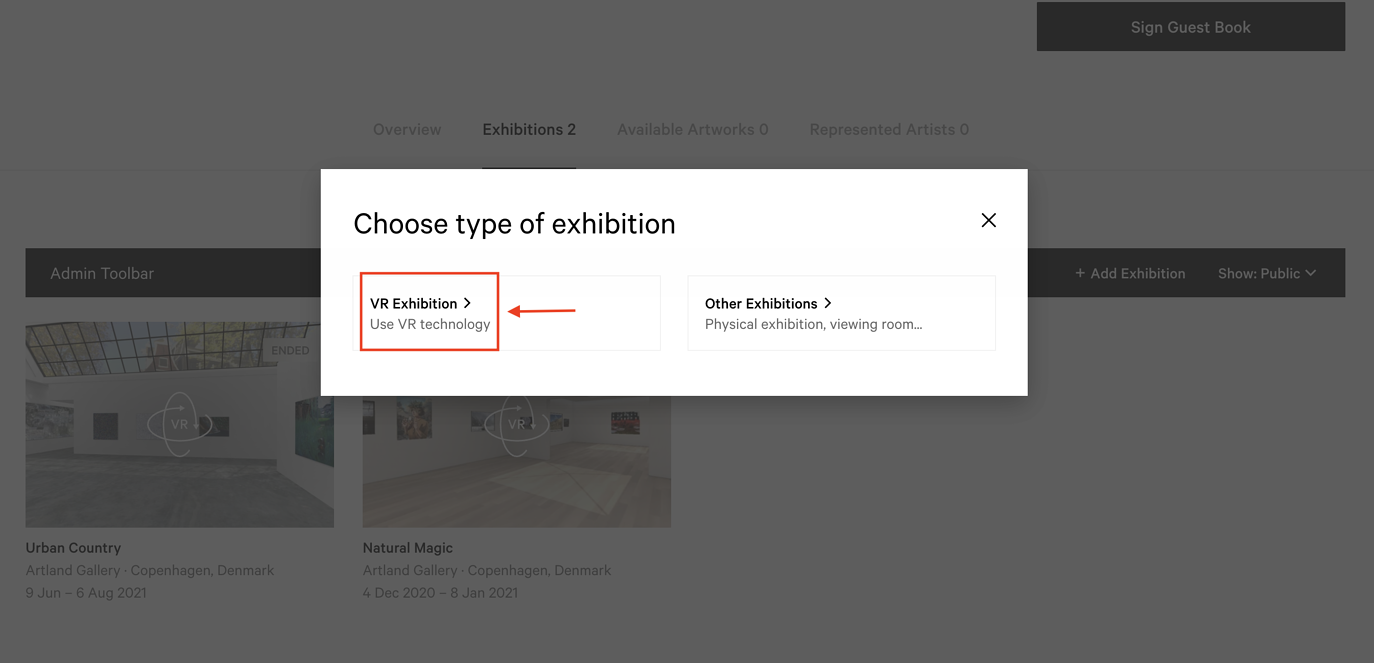
Select VR Exhibition.
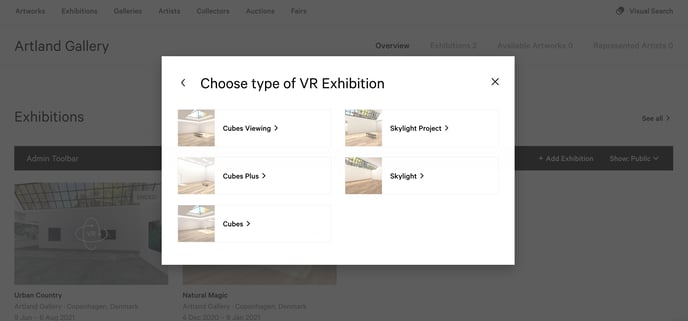
Now you can choose the room you prefer and add the desired information. To have more information about the dimensions of the rooms and their planimetry, check this document out.
Now you can edit the information about your new VR Exhibition.
- Privacy Settings
You can select the status of your show (public or private) through the token at the beginning of the exhibition's "Edit" session.

- Basic Information
In this section, you can add basic information about your show, such as title, dates, description and artworks.
Kindly note that the type of exhibition is automatically set on "Online Exhibition".
To add artworks to your exhibition, you need to:
- First upload the artwork to your profile via the "Available Artworks" section. For further information check our articles for single and multiple artworks upload. Please, kindly note that in order to generate a 3D graphic, information about width and height must be included. Moreover, remember that only 2D artworks and video artworks will be hung. If you want to hang irregularly shaped artworks, upload their main picture as a .png file. To know more about this, please read The Perfect VR Exhibition.
- Then go back to the exhibition's "Edit" session and click on the text box labelled "Artworks". For further information about how to edit exhibitions, read this article.
Select the artworks you are willing to show in that given exhibition. You can undo this action by deselecting the artworks in the same way.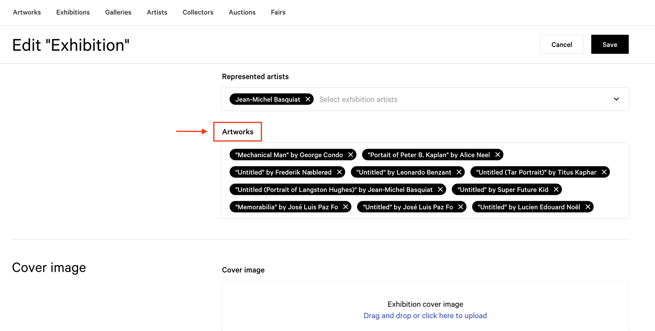
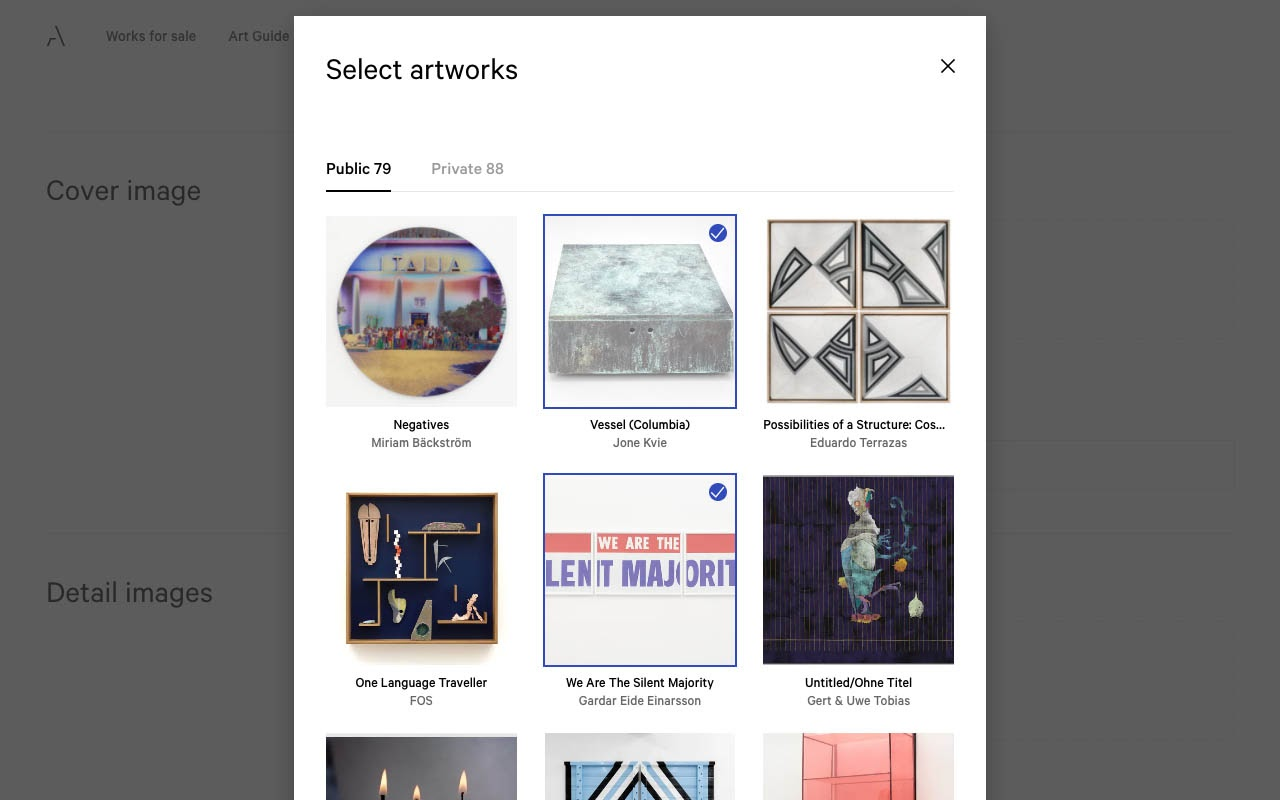
You can also add private artworks to a show and these will be visible only in the selected exhibition.
Otherwise, go to the page of the exhibition to which you want to link the work, click on the "+Add Artworks" button at the top right corner of the Admin Toolbar. Then, if you have already uploaded the works to your page, click on the option "Add Existing Artworks".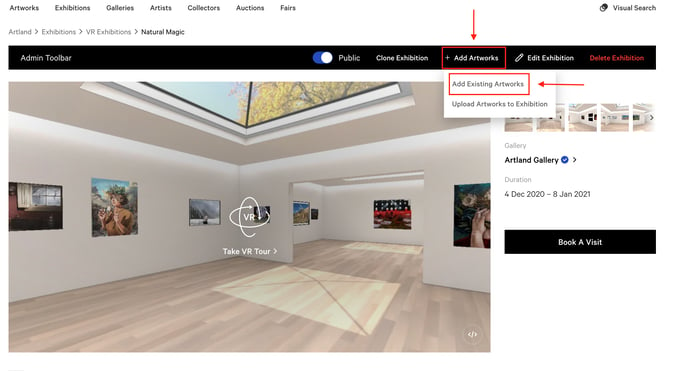 Select the works you want to add to your exhibition.
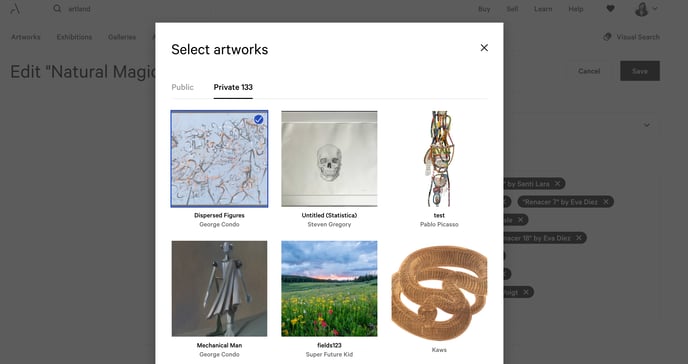
Whereas if you still have to upload the works to attach to your exhibition, click on the option "Upload Artworks to Exhibition".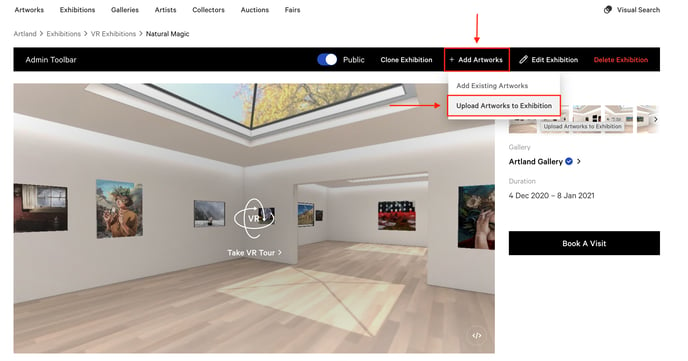
Enter the details of the works you want to add to your exhibitions.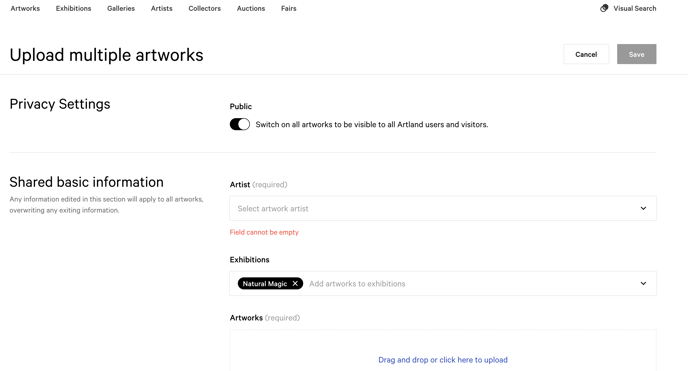
- Cover Image and Detail Images
Here you can upload the cover and detailed images of your exhibition.
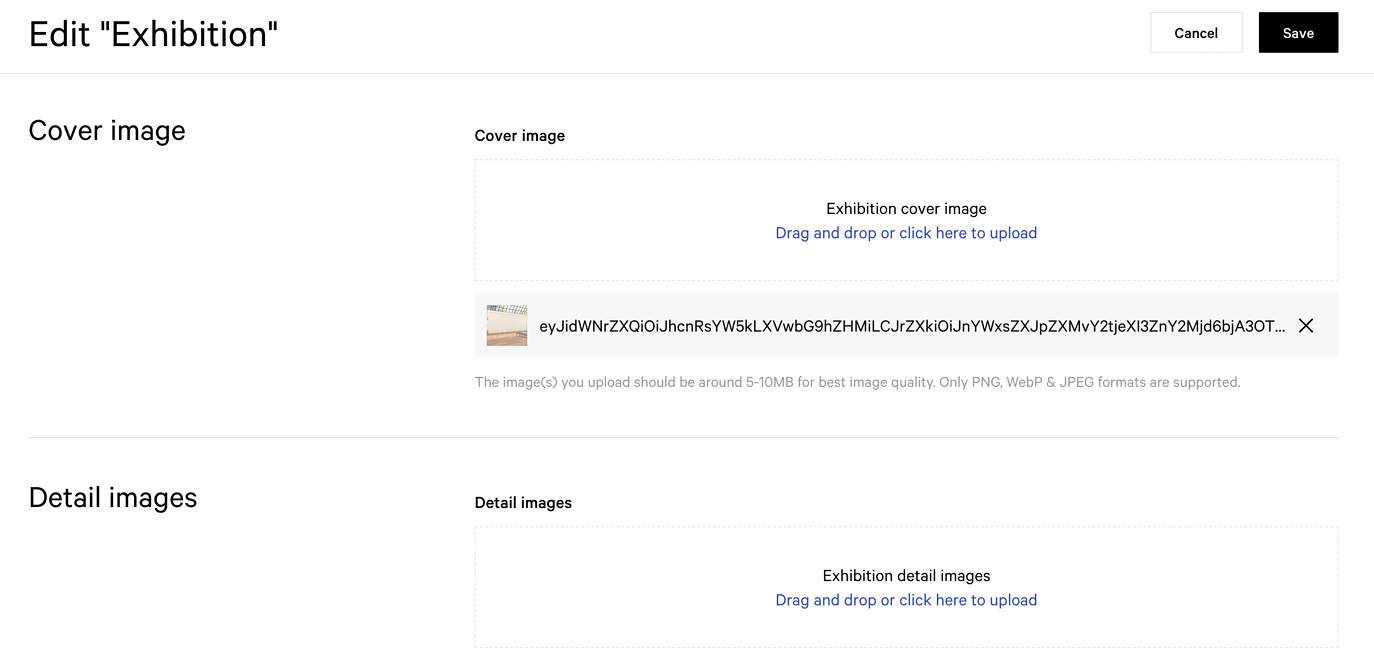
Images should have an aspect ratio of 16:9 and be between 5 and 10 MB for best image quality.
After editing, remember to click on the ''Save" button in the upper right corner.

If you would like to know how to hang the artworks and edit the exhibition itself, please read this article.